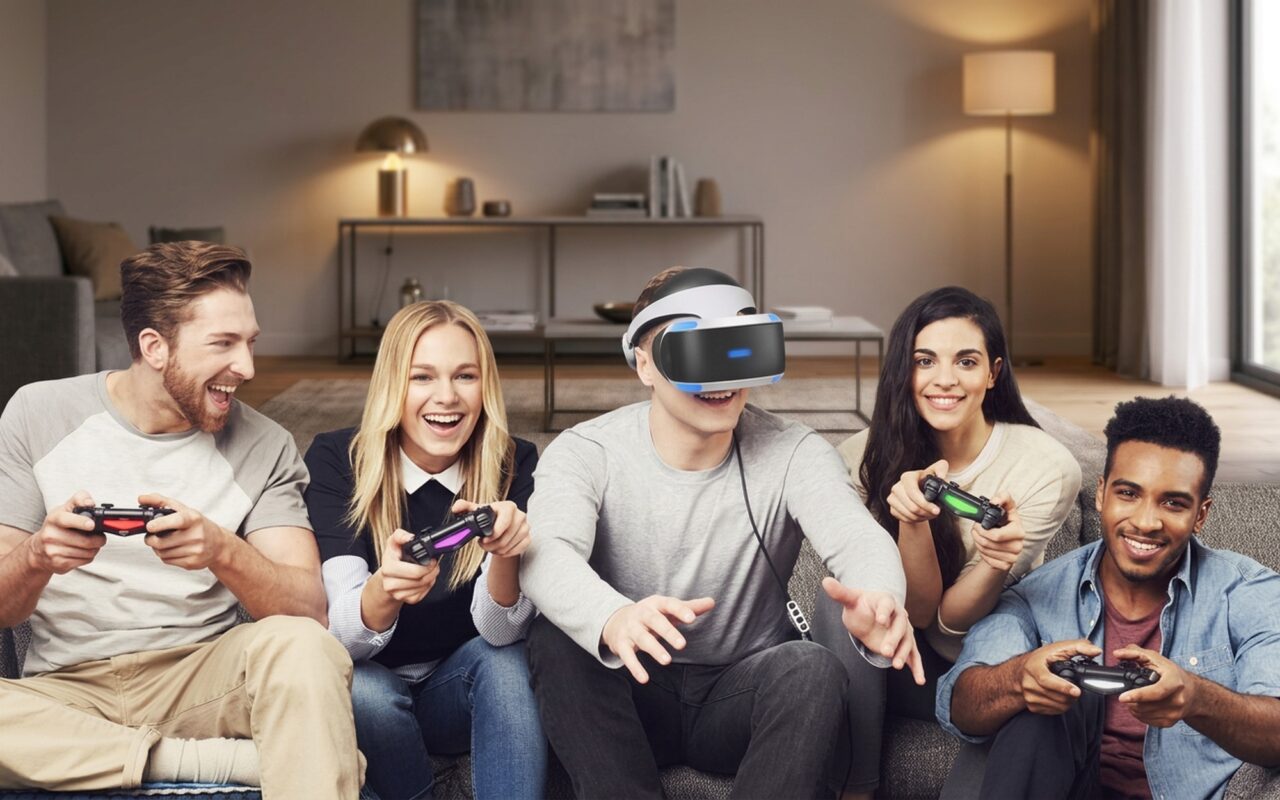
PlayStation VR launched in October 2016 as Sony’s answer to the growing console VR market, and it sold over 5 million units in its first two years. While PSVR2 is now Sony’s flagship headset, the original model remains one of the most accessible ways to experience VR gaming – especially now that second-hand units regularly sell for under $100 with a library of nearly 500 titles to explore.
Whether you just unboxed a used headset or have had yours collecting dust since launch, these PlayStation VR tips will help you dial in your setup, fix tracking problems, and get through your first sessions without motion sickness.
What You Need Before You Start
Before your first session, make sure you have the complete hardware. Missing any one piece makes the headset unusable:
- PlayStation 4 or PlayStation 5 – PSVR1 is compatible with both. PS5 users need the free PlayStation Camera Adaptor to connect the older PS Camera to Sony’s newer console.
- PlayStation Camera – the bar-shaped V2 model is preferred, though the V1 eye-shaped version works too
- PSVR Processor Unit – the small box that sits between your console and TV and handles display output
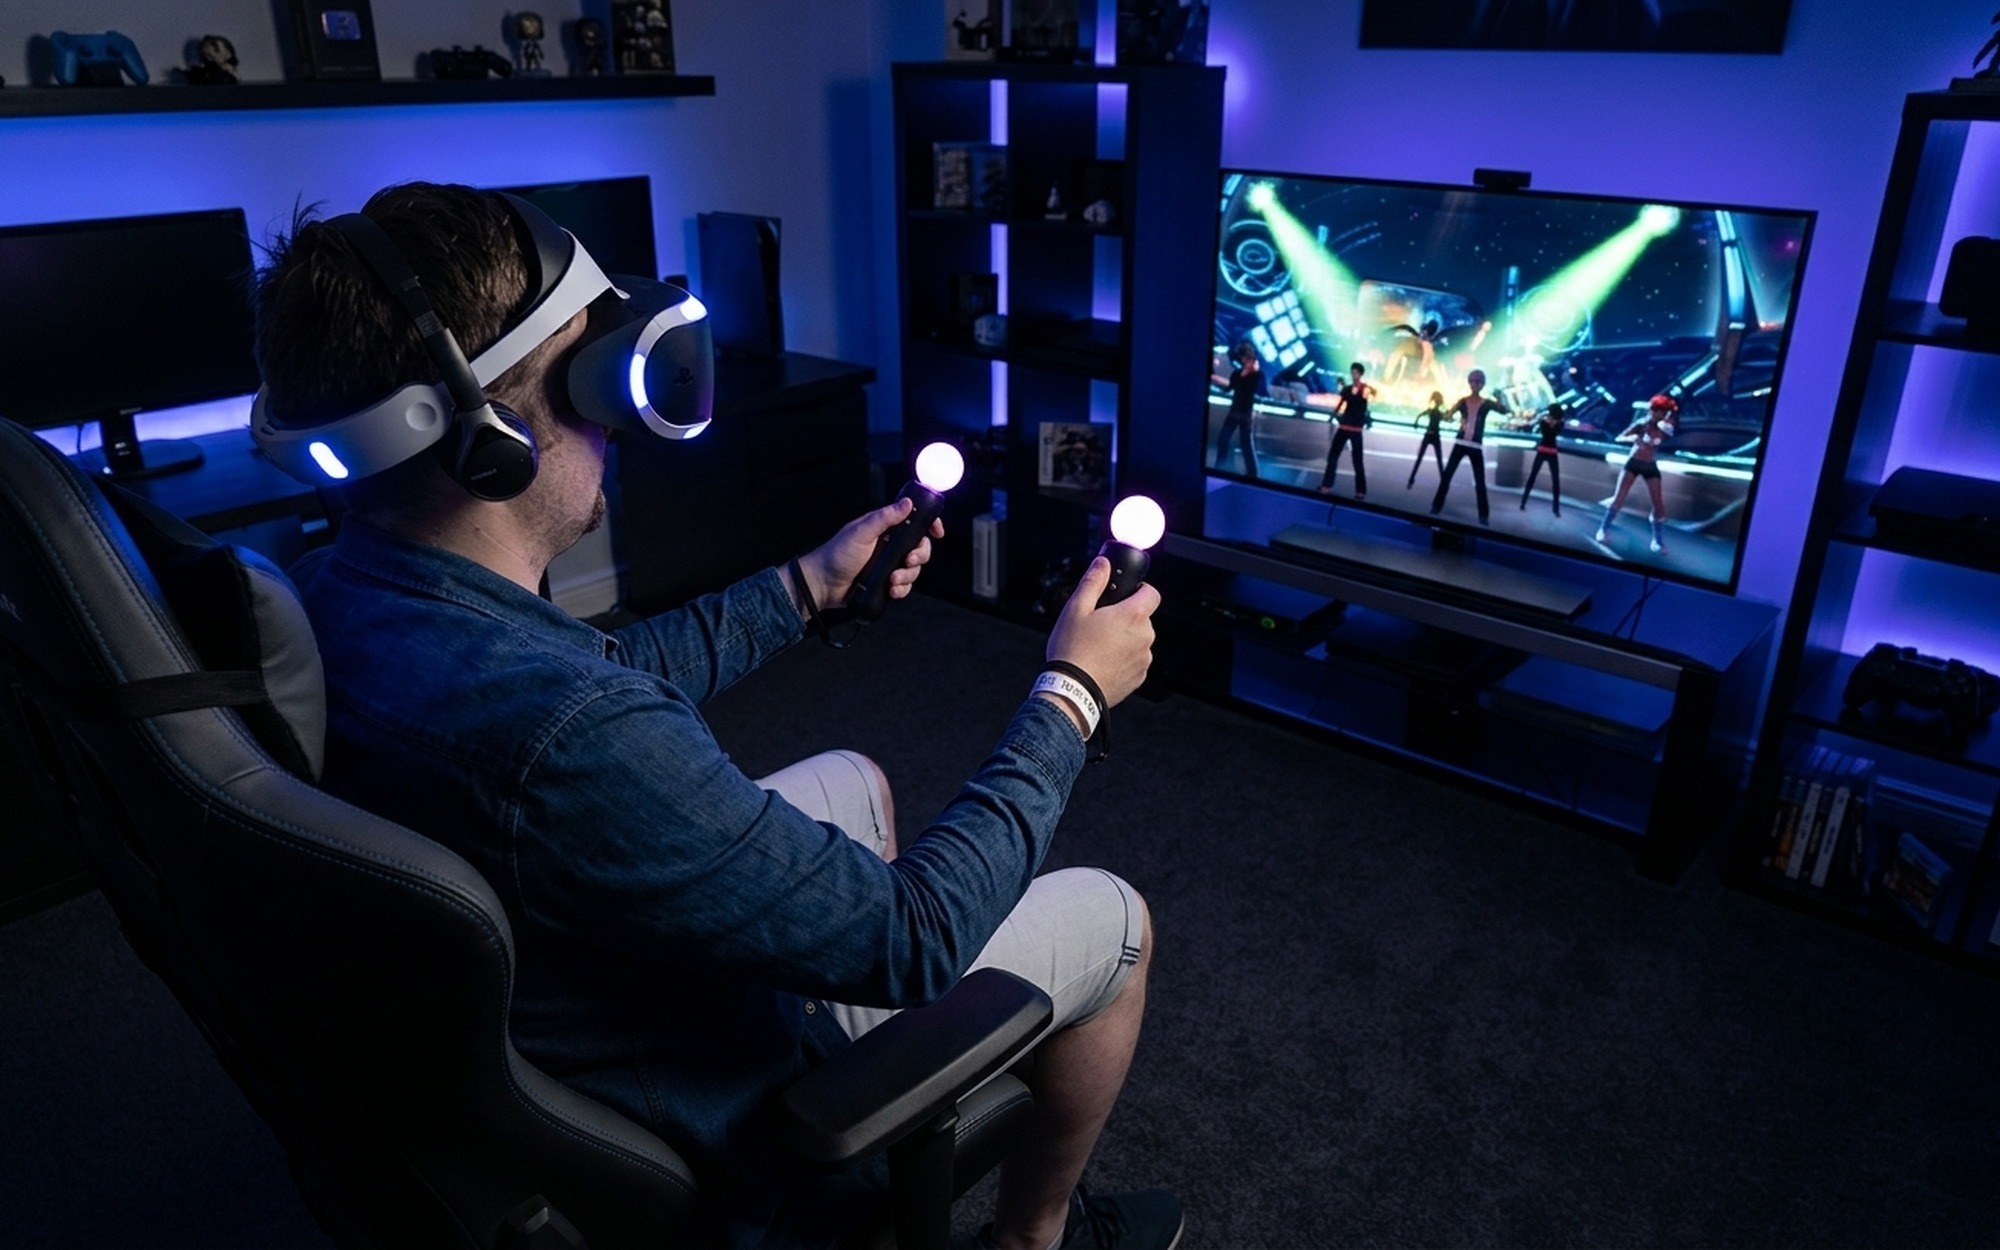
- DualShock 4 or PlayStation Move controllers – most VR games support both, but Move controllers give you proper hand tracking
PS4 Slim USB port warning: The Slim model ships with only two USB ports. The Processor Unit cable uses one of them, leaving just one free port for charging Move controllers. If you plan on longer sessions with two Move controllers, budget for a powered USB hub or an extra set of controllers before you start.
Good news for PS3 owners: Original PlayStation 3 Move controllers are fully compatible with PSVR. If you can find them cheaply on second-hand listings, they work identically to the PS4 versions.
How to Set Up PlayStation VR for the Best Tracking
Camera placement is the single biggest factor in tracking quality, and it is worth spending five minutes getting it right before your first play.
Optimal camera position:
– Place the camera directly on top of your TV, centered horizontally
– The ideal height is around 1.4 m (4’7″) from the floor – roughly eye level or slightly above
– Tilt the lens slightly downward toward your chest, not straight ahead
– Stand at least 2 meters (about 7 feet) away from the camera while playing – the headset needs to stay within the camera’s field of view at all times
Lighting rules:
The PlayStation Camera tracks the blue glowing lights on your headset and Move controllers. Any light source brighter than those orbs will confuse it:
- Close blinds and curtains – direct sunlight floods the sensor and kills tracking immediately
- Switch off LED strips or smart lights that point toward the camera
- Do not place the camera in front of a window or bright lamp
- A dim or moderately lit room works best; complete darkness is not necessary and can actually hurt performance
Add visual anchors to your room. If your play space has bare white walls and very little furniture, the camera has fewer reference points to lock onto. A poster, bookshelf, or a few pieces of furniture behind your play area noticeably improves tracking stability – this is documented in the PlayStation VR Tracking Guide from Owlchemy Labs, the developers of Job Simulator.
Getting a Proper Headset Fit
A poor fit causes two problems: light leakage that washes out the display and discomfort that forces sessions to end early. Getting it right takes under a minute.
- Press the quick release button on the right side of the headband – this opens the rear band so you can slide it over your head
- Pull the visor forward so the headset rests on your forehead, not on your nose
- Use the scope adjuster button underneath the visor to slide the display toward or away from your eyes until the image looks sharp and fills your field of view evenly
- Tighten the rear band until the headset sits secure but not tight – it should hold itself in place without pressing on your temples
If you wear glasses, pull the visor forward an extra notch to create clearance between your prescription lenses and the headset display. Most frames fit comfortably.
How to Reduce Motion Sickness in PlayStation VR
Motion sickness is the most common reason new VR players give up. Your eyes show your brain that you are moving through space while your body stays completely still – and that conflict produces nausea. The good news is that most people develop VR legs within one to two weeks of short regular sessions.
Before you play:
- Set the scope correctly. Even slight blur from a misaligned display causes headaches that build within 10 minutes. Take the time to adjust until both eyes see crisp edges.
- Eat light beforehand. A full stomach amplifies nausea. Play at least 90 minutes after a meal.
- Charge your Move controllers fully. Low battery causes latency spikes that make motion sickness worse.
During play:
- Start with seated, slow-movement games. Titles like Moss, Astro Bot Rescue Mission, Statik, and PlayStation VR Worlds are comfortable for nearly everyone. Save racing games and fast-locomotion shooters for after your stomach has adjusted.
- Keep early sessions to 30 minutes. Pushing through discomfort does not build tolerance – it makes things worse and can put you off VR for days.
- Point a fan at your face. A cool breeze provides a real-world physical sensation that grounds your senses and significantly reduces dizziness. This is one of the most consistently effective and underrated tricks available.
- Enable comfort vignettes in games that offer them. A narrowed field of view during movement reduces the visual motion that triggers nausea without affecting your ability to play.
- Chew gum. The jaw movement gives your brain an additional sensory anchor and acts as a surprisingly effective buffer against mild nausea during active VR sessions.
After a rough session:
Motion sickness can linger for a few hours after removing the headset. Sit near a window, breathe fresh air, and avoid driving until the feeling fully passes. Do not try to push through a second session the same day.
Can You Play Non-VR Games on PlayStation VR?
Yes – and this is one of PSVR’s most underrated features. The headset includes a Cinematic Mode that displays any PS4 or PS5 game on a virtual screen that appears roughly 6–10 feet in front of you, regardless of whether that game has VR support.
The image quality is lower than your actual television (the headset resolution is 1920×1080 split between two eyes), but Cinematic Mode is genuinely useful:
- Play any PS4 or PS5 title in the headset without needing VR support
- Watch movies, Netflix, or YouTube on a large virtual private screen
- Use the headset as a private display in shared spaces – only you can see what’s on screen
How to activate Cinematic Mode: With the Processor Unit powered on, switch your TV’s HDMI input to anything other than the PS4 or PS5 output. Look through the headset and the 2D display activates automatically.
Why Is My PlayStation VR Tracking Not Working?
Most tracking problems have straightforward environmental causes. Work through this checklist before assuming a hardware fault:
| Problem | Most Likely Cause | Fix |
|---|---|---|
| Headset drifts or tilts on its own | Ambient light interference | Close blinds, move lamps away from camera |
| Controllers disappear from view | Camera angle too high or too low | Reposition camera at head height, tilt slightly down |
| Tracking freezes mid-game | Low Move controller battery | Fully charge controllers before playing |
| Headset loses tracking near edges | Too close to camera | Move back to at least 2 m from camera |
| Jitter or flickering in dim rooms | Insufficient visual anchors | Add a dim lamp behind you; add objects to bare walls |
| Random tracking errors | Reflective surface in camera view | Cover mirrors or reposition camera away from glass |
If problems persist after fixing your environment, run Device Settings > PlayStation VR > Adjust PlayStation Camera in the PS4 or PS5 settings menu. This recalibrates the camera’s position and corrects drift that has built up over time.
For a deeper guide to tracking, Android Central’s PlayStation VR room setup guide covers optimal play space dimensions and camera angles in detail.
More Tips for PlayStation VR Beginners
Recenter your view with the PS button. If the in-game horizon drifts – common after shifting position in your seat – hold the PlayStation button on the DualShock 4 and select Recenter VR View. On Move controllers, pressing Select does the same thing. Get into the habit of recentering every time you sit down.
Download free demos before buying. Sony regularly puts VR demos on the PlayStation Store at no cost. Trying a demo first is the safest way to know whether a game’s locomotion style will agree with your stomach before spending money.
Explore non-game experiences. Beyond games, the PlayStation Store has a range of free 360° videos and short experiences worth trying. PlayStation VR Worlds includes five free experiences – Ocean Descent alone is one of the most memorable things the headset can show a first-time user. Littlstar VR offers 360° video content from major publishers including Discovery Channel and National Geographic.
Start slow, build up. The players who get the most from PlayStation VR are the ones who treat the first two weeks as an adaptation period. Three 20-minute sessions spread across the first week will build your VR legs more effectively – and more comfortably – than one long session that leaves you unable to stand up straight.
Selling point for skeptics in your household: Let the fan-skeptic in your family try a single round of PlayStation VR Worlds: Ocean Descent before writing the headset off. It is still one of the most effective VR demonstrations available and works on almost everyone.
- Library of nearly 500 VR games at very low second-hand prices
- Cinematic Mode works for all PS4 and PS5 titles without VR support
- Compatible with PS5 via the free Camera Adaptor
- Original PS3 Move controllers are fully compatible
- Accessible entry point to console VR under $100 used
- Wired design with Processor Unit adds cable complexity
- Camera-based tracking requires careful room and lighting setup
- Lower resolution than newer headsets like PSVR2
- PS4 Slim owners are limited to charging one Move controller at a time
Frequently Asked Questions
How far should I sit from the PlayStation Camera for VR?
Stand at least 2 meters (about 7 feet) from the PlayStation Camera for reliable tracking. The ideal range is 2–3 meters (7–10 feet). Sitting too close pushes your headset out of the camera’s field of view and causes frequent tracking drops.
Why is my PlayStation VR tracking not working?
Poor tracking is almost always caused by lighting problems. Close blinds to block sunlight, move bright lamps away from the camera’s line of sight, and avoid placing the camera in front of mirrors or glass. If the environment looks correct, recalibrate via Device Settings > PlayStation VR > Adjust PlayStation Camera on your PS4 or PS5.
How do I reduce motion sickness in PlayStation VR?
Keep early sessions to 30 minutes, point a fan at your face during play, and start with slow-movement seated games like Moss or Astro Bot Rescue Mission. Eat light beforehand and enable comfort vignettes in games that offer them. Most players develop VR legs within one to two weeks of regular short sessions.
Can you play non-VR games on PlayStation VR?
Yes. Cinematic Mode displays any PS4 or PS5 game on a virtual screen that appears roughly 6–10 feet in front of you. To activate it, keep the Processor Unit powered on and switch your TV’s HDMI input away from the console. The 2D display activates automatically inside the headset.
Does PlayStation VR work with PS5?
Yes, PSVR1 is compatible with PlayStation 5, but you need the free PlayStation Camera Adaptor to connect the older PS Camera to the PS5. The adaptor is no longer distributed directly by Sony but is widely available second-hand. PSVR2 is Sony’s current headset built natively for PS5.
Does PlayStation VR work with glasses?
Most glasses fit inside the PSVR headset. Use the scope adjuster underneath the visor to pull the display forward slightly, creating clearance between your lenses and the headset screen. Players with larger frames may find the fit tight but generally manageable.