
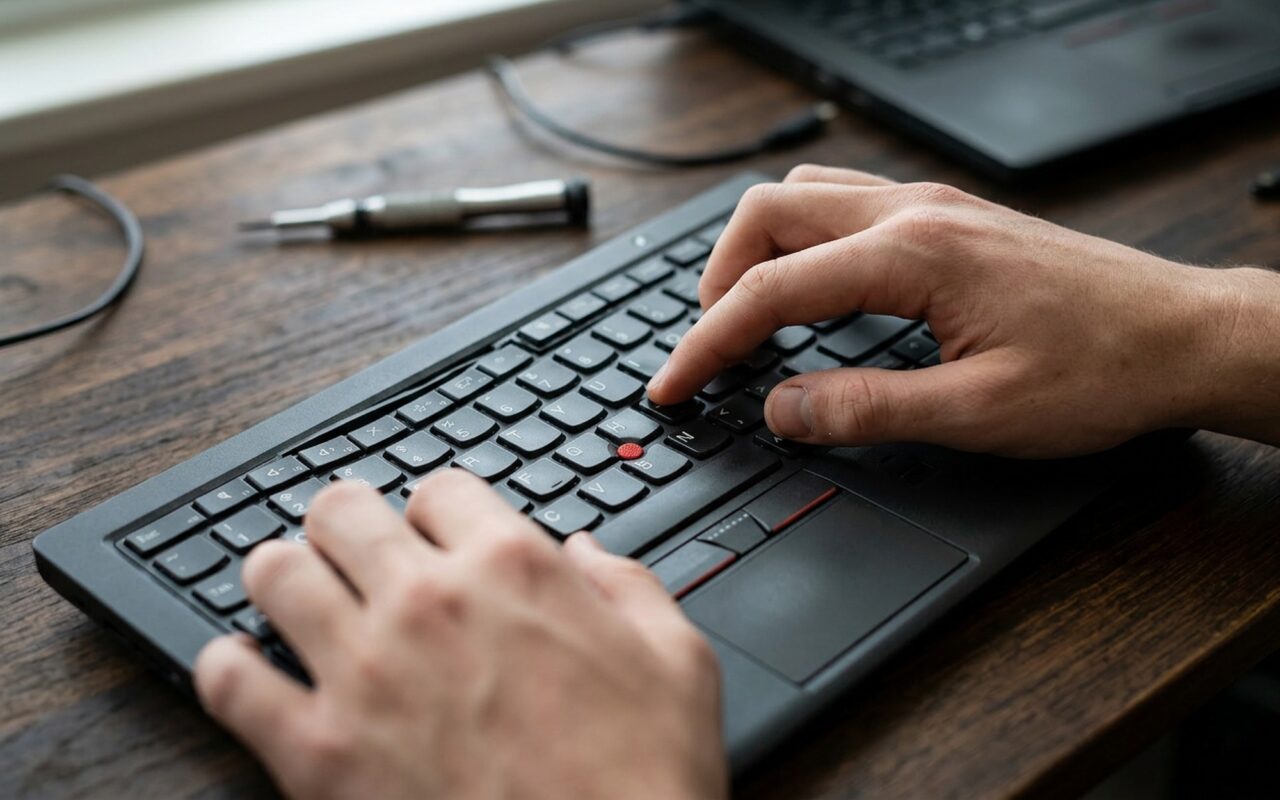
Why Your Lenovo Keyboard Stopped Working
Lenovo laptop keyboards can stop working for a surprising number of reasons – and the fix ranges from a 30-second settings tweak to a full hardware replacement. Before diving into the solutions, it helps to understand what you’re dealing with.
The most common causes include driver corruption triggered by Windows Update (the Windows 11 24H2 update has been particularly problematic for Lenovo devices), physical debris lodged under keycaps, incorrect language or input settings, BIOS misconfiguration, and ribbon cable connection issues on older models. The good news: you can diagnose most of these yourself in under five minutes.

Quick diagnostic before you start: Restart your laptop and repeatedly press F2 (or Fn + F2 on some models) to enter the BIOS setup screen. If your keyboard works inside the BIOS but stops working once Windows loads, you have a software or driver problem – and Methods 1 through 5 below will likely solve it. If the keyboard doesn’t work in BIOS either, skip to Methods 2 and the repair-vs-replace section – you’re likely dealing with a hardware issue.
Before You Start: 30-Second Checks That Often Fix the Problem
Before diving into the full methods below, try these three quick checks. They resolve roughly 40% of Lenovo keyboard complaints without any technical work.
-
Toggle Filter Keys off. Windows 11 has an accessibility feature called Filter Keys that ignores brief or repeated keystrokes. If it got turned on accidentally, your keyboard will appear unresponsive. Go to Settings > Accessibility > Keyboard and make sure Filter Keys is set to Off.
-
Check for Sticky Keys. Similarly, Sticky Keys changes how modifier keys behave and can make the keyboard seem broken. Disable it at Settings > Accessibility > Keyboard > Sticky Keys.
-
Unplug all USB devices. A faulty USB peripheral – especially a gaming keyboard, external numpad, or USB hub – can cause Windows to reassign the internal keyboard to a different controller. Remove everything except the power adapter, then restart.
If none of these work, move on to the systematic fixes below.
Method 1: Restart Your Lenovo Laptop (The Right Way)
A standard restart clears temporary driver glitches and reinitializes the keyboard controller – but Windows 11’s Fast Startup feature sometimes skips this reinitialization. Here’s how to do a full restart that reloads every driver from scratch:
- Click the Start button, then click the Power icon.
- Hold down the Shift key on your keyboard (use the on-screen keyboard at Settings > Accessibility > Keyboard > On-screen keyboard if needed).
- While holding Shift, click Restart.
- Your laptop reboots to the Advanced Startup screen. Click Continue to boot into Windows normally.
This Shift+Restart method forces Windows to perform a cold boot – reloading all drivers, including the keyboard stack. Many Lenovo keyboard issues that started after a Windows Update will resolve with this alone.
Method 2: Check for Physical Damage and Clean the Keyboard
Physical debris is the second most common cause of Lenovo keyboard issues after driver problems. Dust, crumbs, pet hair, and liquid residue can all prevent keys from registering.
Visual inspection: Hold the laptop at an angle under good lighting and look between the keycaps. Shine a flashlight horizontally across the keyboard – debris will cast visible shadows. Pay special attention to the keys you use most: the spacebar, Enter, and E key areas tend to collect the most debris.
Cleaning procedure:
1. Power off the laptop completely and disconnect the charger.
2. Hold the laptop upside down at a 75-degree angle and gently shake it to dislodge loose debris.
3. Use a can of compressed air with the straw attachment at a 45-degree angle to blow between keycaps. Work in a zigzag pattern from top-left to bottom-right.
4. For sticky residue (coffee, soda spills), dampen a microfiber cloth with 90%+ isopropyl alcohol – never spray directly onto the keyboard. Gently wipe the affected keys and let dry for 10 minutes before powering on.
5. For keys that feel sticky or different from the rest, carefully remove the keycap using a flat plastic spudger tool, clean the underside and the rubber dome beneath, then snap the keycap back on.
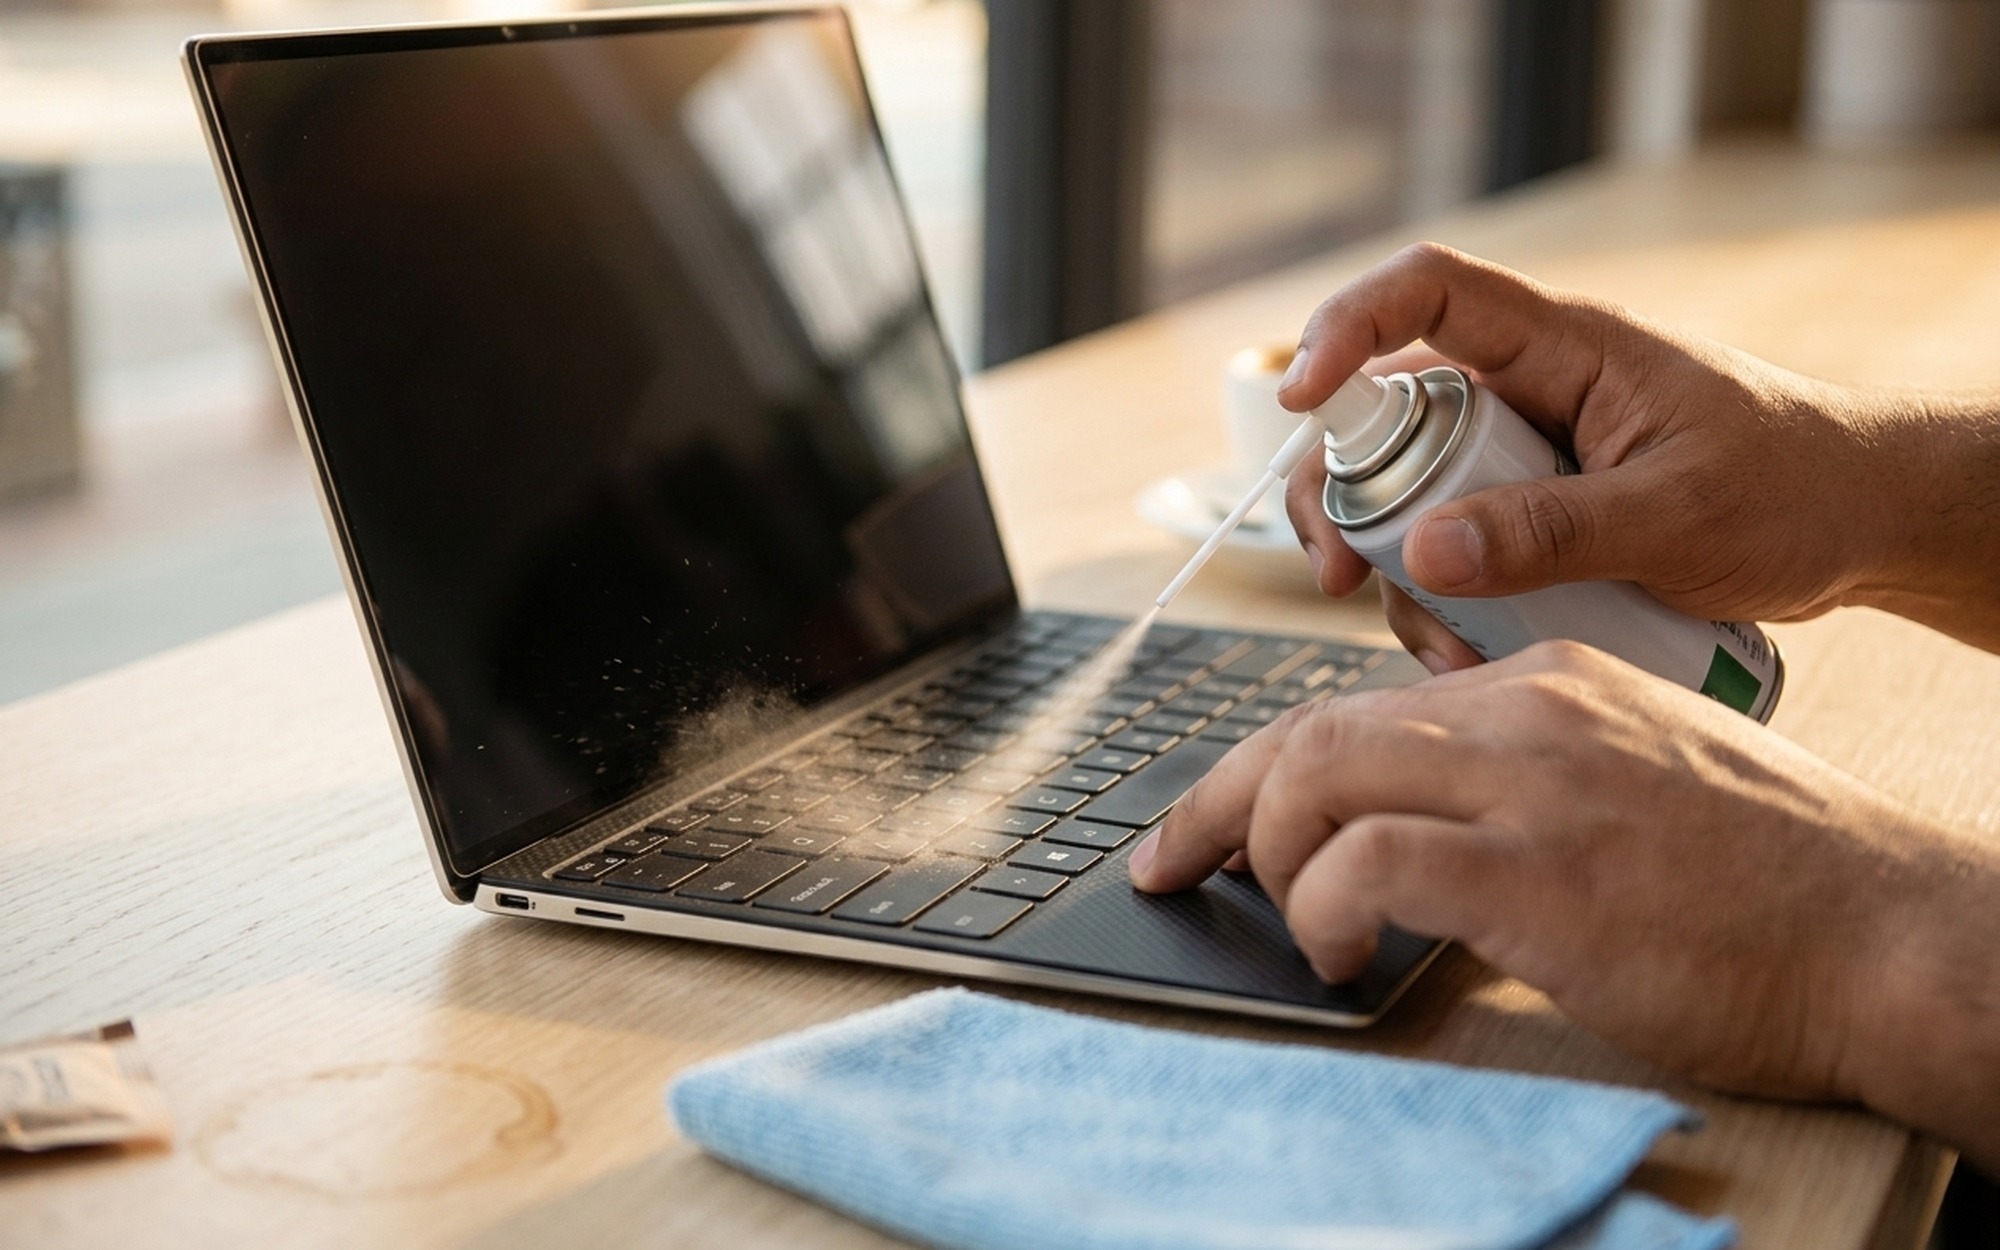
Warning signs of serious damage: If you see white or green corrosion around the key mechanism, or if the keyboard area smells burnt, liquid has likely reached the motherboard. Stop troubleshooting and take the laptop to a repair shop.
Method 3: Update or Reinstall Lenovo Keyboard Drivers
Driver problems are the number one cause of Lenovo keyboard failure, especially on ThinkPad models running Windows 11. A Windows Update can replace your Lenovo-specific keyboard driver with a generic one that doesn’t fully support your model’s function keys, backlight, or TrackPoint.
Option A: Uninstall and Reinstall the Driver (Recommended)
- Right-click the Start button and select Device Manager.
- Expand the Keyboards category. You may see multiple entries – “HID Keyboard Device” and “Standard PS/2 Keyboard” are both normal.
- Right-click each keyboard entry and select Uninstall device. If asked to confirm, click Uninstall.
- Restart your laptop. Windows will automatically detect the keyboard and reinstall the correct driver on boot.
Option B: Download Drivers Directly from Lenovo
If the automatic reinstall doesn’t solve the issue, manually install the Lenovo-specific driver:
- Go to support.lenovo.com and enter your laptop’s serial number (find it on the bottom case or by running
wmic bios get serialnumberin Command Prompt). - Navigate to the Drivers & Software section for your model.
- Under Component > Keyboard, download the latest keyboard driver or hotkey driver package.
- Install the downloaded package and restart.
Option C: Use Lenovo Vantage
Lenovo Vantage (pre-installed on most Lenovo laptops, or free on the Microsoft Store) automatically scans your system and installs the correct drivers:
- Open Lenovo Vantage from the Start menu (install it from the Microsoft Store if missing).
- Click System Update and then Check for Updates.
- Install any keyboard-related or BIOS updates that appear, then restart.
For more information on Lenovo’s official driver support and keyboard troubleshooting documentation, visit the Lenovo Support keyboard troubleshooting page.
Method 4: Check Keyboard Language and Input Settings
Windows 11 sometimes switches keyboard layouts after an update – especially if you’ve ever added a second language. A US English keyboard set to UK layout (or vice versa) will produce wrong characters, and some keys (like @, “, #, ~) will appear not to work.
- Open Settings > Time & Language > Language & region.
- Under Preferred languages, click the three dots next to your primary language and select Language options.
- Under Keyboards, verify the correct layout is installed. For most Lenovo laptops sold in North America, this should be US (QWERTY). Remove any layouts you didn’t intentionally add.
- Back on the Language & region page, scroll down to Administrative language settings and click Copy settings. Check both boxes and click OK – this ensures the login screen uses the correct keyboard layout too.
If you use multiple keyboard layouts, you can toggle between them with Windows key + Spacebar. Accidentally pressing this shortcut is a common reason users think their keyboard is broken.
Method 5: Run the Windows Keyboard Troubleshooter
Windows 11 includes a built-in diagnostic tool specifically for keyboard issues. While it won’t fix hardware problems, it catches a surprising number of software misconfigurations:
- Open Settings > System > Troubleshoot > Other troubleshooters.
- Find Keyboard in the list and click the Run button.
- Follow the on-screen prompts. The troubleshooter checks for driver conflicts, stuck modifier keys, and service status issues.
- After it completes, restart your laptop even if it says no problems were found – the troubleshooter can reset keyboard-related services that only take effect after a reboot.
If you’re also experiencing issues with your laptop’s built-in keyboard, you might find our guide on fixing common Windows keyboard problems useful for additional software troubleshooting steps.
Method 6: Reset BIOS/UEFI to Default Settings
Modern Lenovo laptops use UEFI firmware (commonly still called BIOS) to manage hardware initialization – including the keyboard controller. A BIOS misconfiguration or corruption can disable the keyboard entirely, even though Windows is working perfectly.
How to enter BIOS on your Lenovo model:
– ThinkPad: Restart and press F1 (or Fn + F1) repeatedly
– IdeaPad / Yoga / Legion: Restart and press F2 (or Fn + F2) repeatedly
– Lenovo with Novo button: Power off, then press the small pinhole button on the side or bottom with a paperclip – select BIOS Setup from the Novo menu
Once inside BIOS:
1. Press F9 (or Fn + F9) to load Setup Defaults. Confirm when prompted.
2. Navigate to the Exit tab using the arrow keys.
3. Select Exit Saving Changes or press F10 (Fn + F10). Confirm.
Important: On ThinkPad models with Intel AMT or corporate provisioning, resetting BIOS may clear enterprise management settings. If this is a work laptop, check with your IT department first.
For models where the keyboard works in BIOS but not in Windows, also disable Fast Startup – this Windows feature hibernates the kernel instead of performing a true shutdown, which can preserve driver errors across reboots. Go to Control Panel > Power Options > Choose what the power buttons do > Change settings that are currently unavailable > uncheck Turn on fast startup > Save changes.
Method 7: Perform a System Restore
If your Lenovo keyboard stopped working after a specific event – a Windows Update, a new driver installation, or a software install – System Restore can roll back your system to a point before the problem started.
- Type Create a restore point in the Start menu search and open it.
- Click the System Restore button.
- Click Next and check the box for Show more restore points.
- Select a restore point dated before your keyboard issue began. Windows automatically creates restore points before major updates.
- Click Next, then Finish, and confirm. Your laptop will restart and begin the restoration.
Note: System Restore does not affect your personal files (documents, photos, etc.) but will uninstall any programs and drivers installed after the restore point date. If you installed software after the restore point, back up its data first.
If System Restore is not available or doesn’t help, and the keyboard works in BIOS, consider a Windows repair install via Settings > System > Recovery > Fix problems using Windows Update – this reinstalls Windows while keeping your files and apps intact.
Method 8: Connect an External Keyboard as a Temporary Workaround
While you work through the fixes above, an external keyboard lets you stay productive. Fortunately, Lenovo laptops work with almost any USB or Bluetooth keyboard without additional configuration.
USB keyboard: Plug it into any available USB port. Windows recognizes it within seconds – no driver installation needed. This is the most reliable option and works even if the internal keyboard cable is physically damaged.
Bluetooth keyboard: If your USB ports are all in use or you prefer a wireless setup:
1. Turn on the Bluetooth keyboard and put it in pairing mode (usually hold the Bluetooth button for 3 seconds).
2. On your Lenovo laptop, go to Settings > Bluetooth & devices > Add device > Bluetooth.
3. Select your keyboard from the list and complete pairing.
On-screen keyboard: As a last resort when no external keyboard is available, enable the on-screen keyboard at Settings > Accessibility > Keyboard > On-screen keyboard or press Windows key + Ctrl + O.
If you’re also dealing with other hardware issues on your Lenovo laptop, check out our guide to common Lenovo laptop problems and their fixes for solutions to battery, display, and connectivity issues.
Repair vs Replace Your Lenovo Keyboard: How to Decide
If you’ve tried all eight methods above and the keyboard still doesn’t work – or if the keyboard fails the BIOS test in Method 1 – you’re dealing with a hardware problem. Here’s how to decide between repairing and replacing.
| Factor | Repair (Professional) | Replace (DIY Keyboard Part) |
|---|---|---|
| Cost | $50–150 at a Lenovo service center | $30–80 for the keyboard assembly |
| Time | 1–3 business days | 30 minutes to 2 hours (model-dependent) |
| Skill Level | None – technician handles everything | Intermediate – requires opening the laptop case |
| Warranty | Preserved if under Lenovo warranty | May void warranty if seal is broken |
| Part Availability | Genuine Lenovo parts guaranteed | Varies – ThinkPad parts easier to find than consumer models |
| Best For | Premium models (X1 Carbon, P-series), laptops under warranty | Out-of-warranty IdeaPad, budget models, older ThinkPads |
DIY replacement considerations:
– ThinkPad T-series and X-series (pre-2022): Keyboards are modular – typically held by 2-4 screws and a ribbon cable. Replacement takes 15-30 minutes. Parts are widely available.
– ThinkPad X1 Carbon (Gen 6 and newer): The keyboard is integrated into the top case assembly. Replacement means disassembling the entire laptop. Strongly recommend professional repair.
– IdeaPad and consumer Yoga models: Keyboard is often plastic-riveted to the palm rest. Replacement usually means swapping the entire palm rest assembly ($40-80).
– Legion gaming laptops: Keyboards are replaceable but the RGB backlight ribbon cable is fragile – be extra careful when disconnecting it.
Find replacement keyboard parts at Lenovo Parts by entering your serial number, or through authorized resellers. If you prefer to explore external keyboard options for a permanent solution, our best wireless keyboards for productivity guide covers top picks for every budget.
Lenovo Keyboard Issues by Model Series
Different Lenovo model lines have different keyboard architectures, driver stacks, and common failure modes. Here’s what to watch for on your specific device.
ThinkPad (X1 Carbon, T-series, P-series, X-series)
Most common issue: Keyboard unresponsive after Windows 11 24H2 update. The 24H2 update changed how Windows initializes PS/2 keyboard controllers, and many ThinkPad keyboards rely on a PS/2-emulated connection. Fix: update BIOS through Lenovo Vantage, then reinstall the Lenovo Hotkey Features Integration driver from support.lenovo.com.
TrackPoint interference: If the keyboard works but the TrackPoint (the red pointing nub) moves the cursor on its own, the TrackPoint calibration has drifted. Recalibrate it through Lenovo Vantage > Input > TrackPoint settings.
IdeaPad (IdeaPad 3, 5, Slim, Flex)
Most common issue: Intermittent key failure – some keys work sometimes but not others. This is frequently caused by a loose ribbon cable connection between the keyboard and motherboard. Fix: open the bottom case, locate the keyboard ribbon connector (usually near the center of the motherboard), disconnect and firmly reseat it. The connector is often a ZIF (zero insertion force) type – flip the locking bar up, insert the cable, then press the bar back down.
Driver conflicts: IdeaPad models sometimes ship with two keyboard drivers that conflict with each other. In Device Manager, if you see both an “HID Keyboard Device” and a “Standard PS/2 Keyboard” with a yellow warning triangle, uninstall the one with the warning and restart.
Yoga (Yoga 7, Yoga 9, Yoga Slim)
Most common issue: Keyboard and touchpad stop working when the screen is rotated past 180 degrees into tablet mode. This is actually a feature – Lenovo Yoga models disable the physical keyboard in tablet mode to prevent accidental key presses while holding the device. If the keyboard stays disabled after returning to laptop mode, the rotation sensor may be stuck. Fix: restart the laptop in laptop mode (screen at ~110 degrees, not folded back).
Tablet mode override: If you want the keyboard to stay enabled in all orientations, open Settings > System > Display > Rotation lock and toggle it on. Then restart.
Legion (Legion 5, Legion Pro, Legion Slim)
Most common issue: RGB backlight works but keyboard doesn’t type. The Legion uses a separate USB controller for the RGB LEDs and the actual keystroke input. If only the lights work, the keyboard’s data channel has a driver conflict. Fix: open Device Manager, expand Universal Serial Bus controllers, right-click each USB Composite Device and USB Root Hub, select Uninstall device, then restart.
Corsair iCUE / Lenovo Vantage conflict: On Legion models, Lenovo Vantage and third-party RGB software (like Corsair iCUE or OpenRGB) can fight for keyboard controller access, causing keys to stop responding. Uninstall any third-party RGB software, keep only Lenovo Vantage, and restart.
Final Checklist: Did You Try Everything?
- [ ] Restarted with Shift + Restart for a full cold boot
- [ ] Tested the keyboard in BIOS (F1 or F2 at startup)
- [ ] Checked for physical debris, cleaned with compressed air
- [ ] Toggled off Filter Keys and Sticky Keys in Windows Accessibility settings
- [ ] Uninstalled and reinstalled keyboard drivers via Device Manager
- [ ] Verified keyboard language layout is correct (Windows key + Spacebar)
- [ ] Updated BIOS and keyboard drivers through Lenovo Vantage
- [ ] Ran the Windows Keyboard Troubleshooter
- [ ] Disabled Fast Startup in Power Options
- [ ] Reset BIOS to default settings (F9 in BIOS setup)
- [ ] Performed System Restore to a point before the issue started
- [ ] Tested with an external USB keyboard
If you’ve completed every item on this list and the keyboard still doesn’t work, the issue is almost certainly hardware-related. Check your warranty status in Lenovo Vantage or at support.lenovo.com/warranty, then contact Lenovo support or visit an authorized service center. For most models, keyboard replacement is a routine repair that can be completed the same day.
- All methods use built-in Windows tools — no paid third-party software required
- Covers both Windows 11 (including 24H2) and Windows 10 with specific paths for each
- Works across all major Lenovo models: ThinkPad, IdeaPad, Yoga, Legion, and Chromebook
- Includes quick 30-second fixes plus advanced solutions for persistent problems
- Helps you decide whether to repair or replace with a clear cost comparison table
- Some advanced methods like BIOS reset require basic technical confidence
- System Restore only works if a restore point was created before the keyboard issue began
- DIY hardware repair may void your Lenovo warranty if the device is still covered
- Certain enterprise-managed Lenovo laptops may have locked BIOS or restricted driver access
- Not all solutions apply to detachable Lenovo tablets with Snapdragon ARM processors
Frequently Asked Questions
Why is my Lenovo laptop keyboard not working and how do I fix it?
The most common causes are driver corruption after a Windows 11 update (especially 24H2), incorrect keyboard language settings, physical debris under keys, or BIOS misconfiguration. Start with the fastest diagnostic: restart your laptop and press F2 (or Fn+F2) to enter BIOS. If the keyboard works in BIOS, the problem is Windows-related — reinstall the keyboard driver via Device Manager. If it doesn’t work in BIOS, the issue is hardware-related and may require cleaning or replacement. For ThinkPad models experiencing issues after a Windows update, run Lenovo Vantage to check for BIOS and driver updates specific to your model.
I updated my Lenovo keyboard driver but it’s still not working — what do I do next?
If updating the driver didn’t help, uninstall and reinstall it instead. Open Device Manager, right-click the keyboard entry under ‘Keyboards’, select ‘Uninstall device’, and restart your laptop. Windows will automatically reinstall the correct driver on reboot. If that still doesn’t work, download the latest drivers directly from support.lenovo.com by entering your laptop’s serial number. Also check Lenovo Vantage for a pending BIOS update — Lenovo frequently releases BIOS patches that fix keyboard controller issues. As a last resort, try the Windows Keyboard Troubleshooter at Settings > System > Troubleshoot > Other troubleshooters > Keyboard.
My Lenovo ThinkPad keyboard is unresponsive after a Windows 11 update — what should I do?
The Windows 11 24H2 update has caused keyboard issues on several ThinkPad models (especially X1 Carbon and T-series). First, check if Lenovo has released a BIOS update for your model via Lenovo Vantage. If no update is available, roll back the keyboard driver: open Device Manager, double-click your keyboard, go to the Driver tab, and click ‘Roll Back Driver’. You can also try uninstalling recent Windows updates at Settings > Windows Update > Update history > Uninstall updates. If the keyboard works in BIOS but not in Windows, disable Fast Startup at Control Panel > Power Options > Choose what the power buttons do — Fast Startup can interfere with driver initialization on ThinkPad models.
What are the most common Lenovo keyboard problems and how do I troubleshoot them step by step?
The troubleshooting order matters. Follow these 8 steps in order: (1) Restart the laptop — this clears temporary driver glitches. (2) Test the keyboard in BIOS — press F2 during boot to determine if it’s hardware or software. (3) Check for physical damage — look for stuck keys, debris, or liquid residue. (4) Update or reinstall keyboard drivers via Device Manager. (5) Verify keyboard language settings at Settings > Time & Language > Language & region. (6) Disable Filter Keys and Sticky Keys at Settings > Accessibility > Keyboard. (7) Run the Windows Keyboard Troubleshooter. (8) Reset BIOS to default settings (F9 in BIOS setup). If none of these work, test with an external USB keyboard — if the external keyboard works, the internal keyboard hardware likely needs repair or replacement.
When should I replace a broken Lenovo keyboard instead of repairing it?
Replace the keyboard if the repair cost exceeds 50% of a new keyboard’s price. DIY replacement keyboards cost $30-80 for most Lenovo models and take 30 minutes to 2 hours. Professional repair costs $50-150. Replace rather than repair when: there’s visible liquid corrosion on the motherboard, multiple keys have failed due to a damaged ribbon cable, the keyboard has been repaired before and failed again, or the laptop is over 5 years old and parts are scarce. Repair is the better choice when: the laptop is under warranty (Lenovo covers it), the issue is a single stuck key, or the problem is software-related (no hardware damage). For premium ThinkPad models with integrated keyboards (X1 Carbon), professional repair is recommended since keyboard replacement requires disassembling the entire laptop.
How do I fix specific keys on my Lenovo laptop that stopped working while the rest of the keyboard works?
Individual keys failing usually indicates physical debris or a mechanical issue rather than a driver problem. First, power off the laptop and gently pry off the non-working key cap using a flat plastic tool. Clean underneath with compressed air and a cotton swab lightly dampened with isopropyl alcohol (90%+). Check if the rubber dome underneath is still intact — if it’s torn or missing, you’ll need a replacement key mechanism. For ThinkPad keyboards, individual key mechanisms are available from Lenovo parts suppliers. For IdeaPad and consumer models, you may need to replace the entire keyboard assembly. If cleaning doesn’t fix the key, test with an external keyboard to confirm the rest of the system is fine, then decide between individual key repair or full keyboard replacement.