Why Edit Faces in Videos?
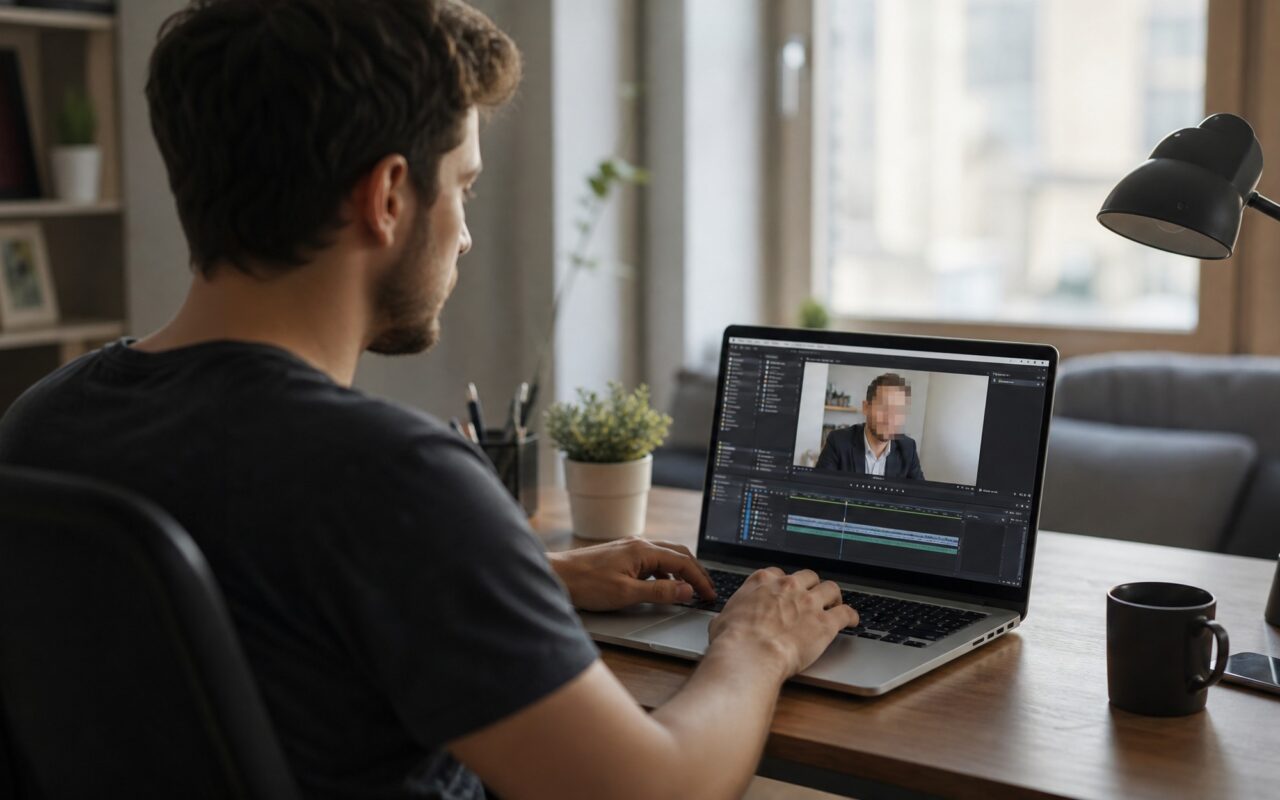
There are two main reasons you might want to edit faces in a video clip. Privacy is the most common. Whether you are uploading a street interview to YouTube, sharing event footage on social media, or posting a workout video from a public gym, you may need to obscure bystanders’ faces who did not consent to appear in your content.
Creativity is the other big reason. Face swapping apps like Reface and DeepSwap have become hugely popular for creating funny, shareable content. Replacing a face in a video clip, whether putting your own face on a movie character or swapping faces with a friend, is easier than ever in 2026 thanks to AI-powered tools.
This guide covers three methods, each with step-by-step instructions using completely free tools that do not require a credit card.
Method 1: How to Blur a Face in Video (Privacy Protection)
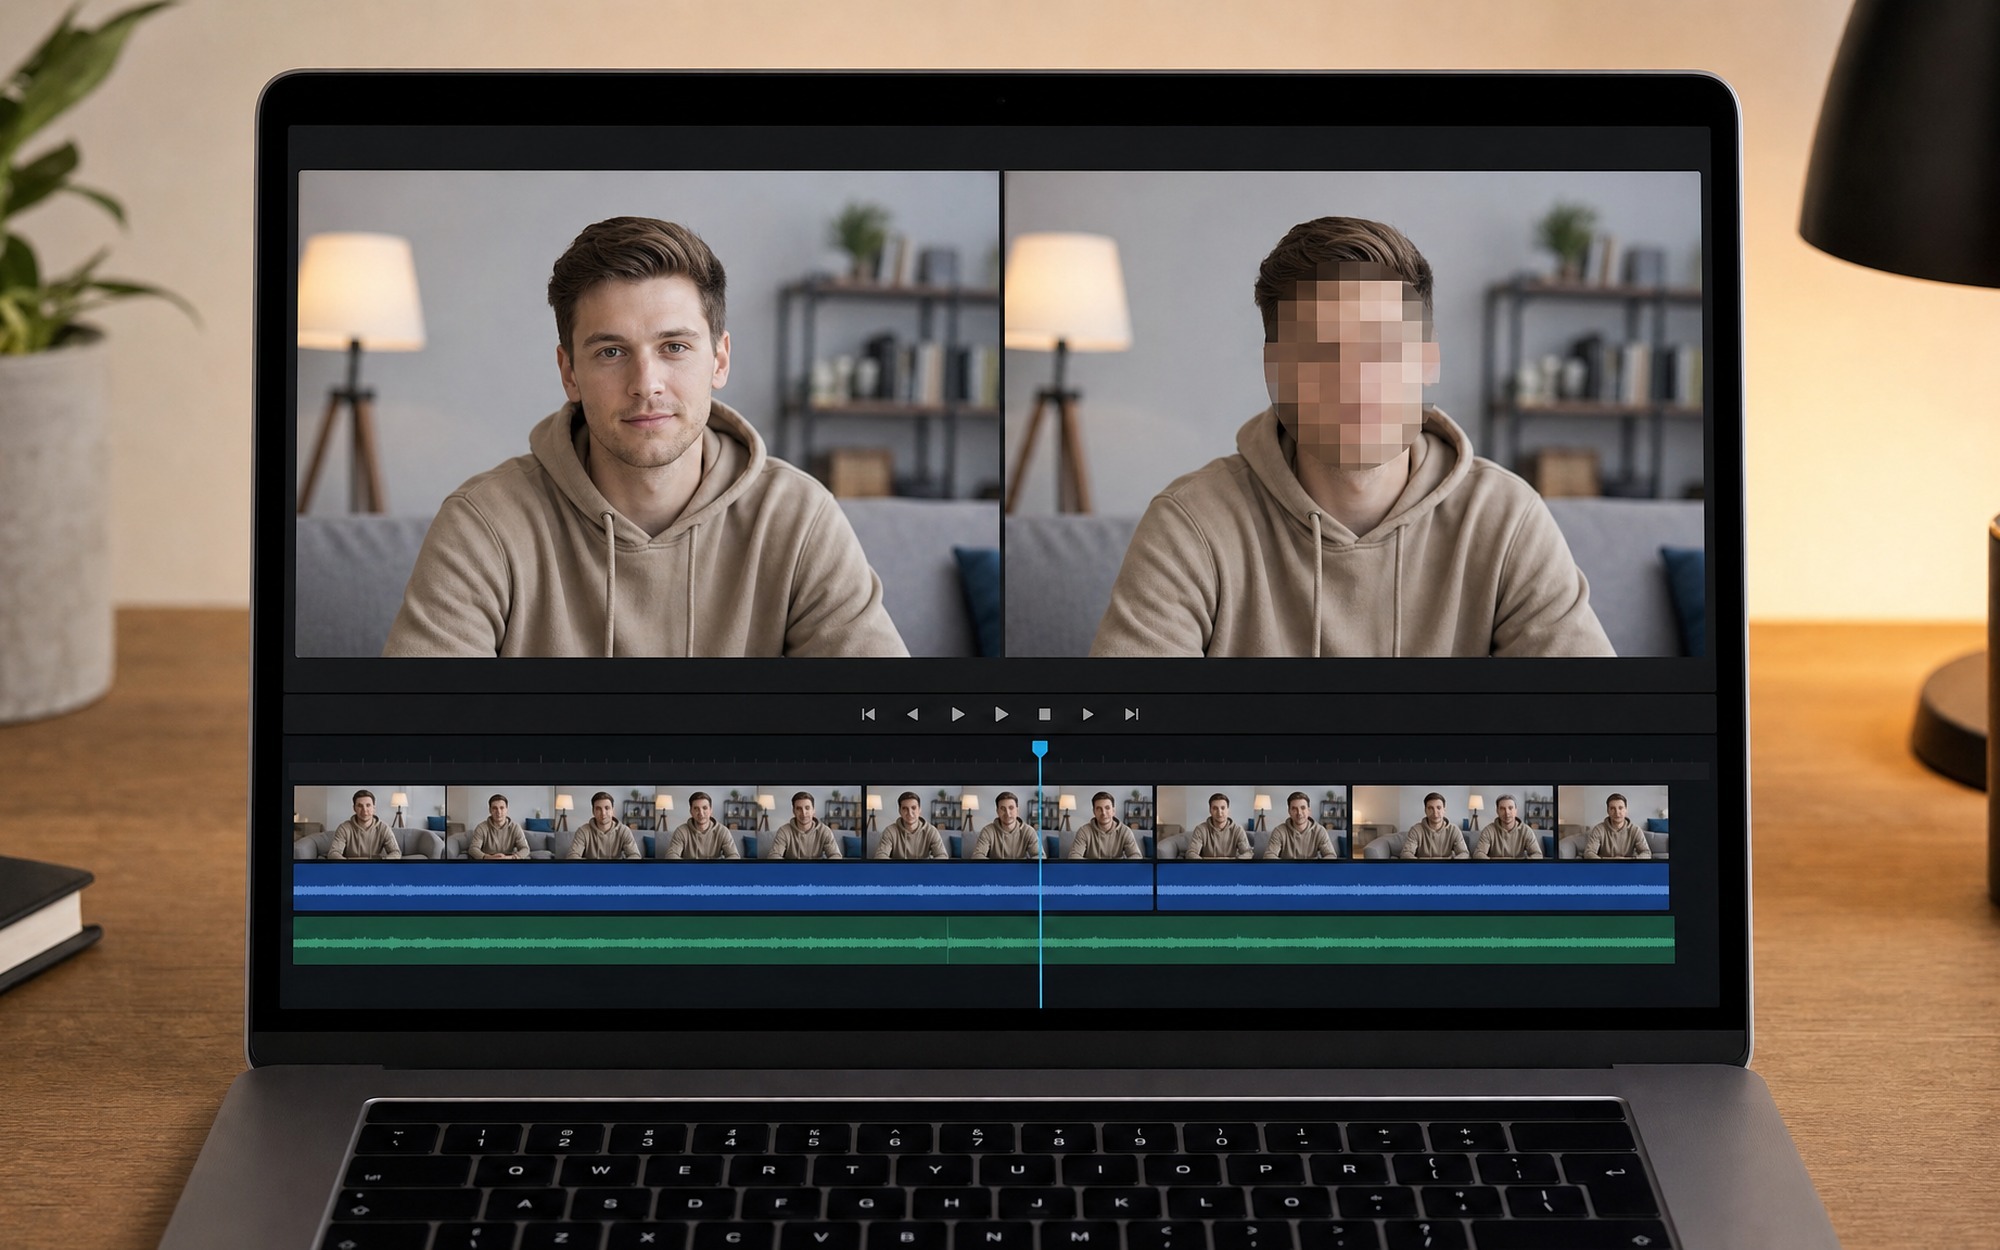
Blurring faces is the most searched face editing technique, with over 350 monthly searches for “how to blur a face in a video.” Here are the best free tools ranked from easiest to most powerful.
Option A: CapCut (Desktop and Mobile) – Easiest
CapCut is the most accessible free video face blurring tool in 2026. Developed by ByteDance, it runs on Windows, Mac, iOS, and Android with no watermark on free exports.
Step 1: Download and install CapCut from the official website (capcut.com) or your device’s app store. No account is required on desktop.
Step 2: Click “New Project” and import your video file. Drag it to the timeline.
Step 3: Select your clip on the timeline, then go to Effects > Video Effects > Basic > Mosaic or Blur. Drag the effect onto the clip.
Step 4: With the effect layer selected, click Mask in the right panel. Choose either a circle or rectangle mask shape. Position it over the face you want to blur.
Step 5: Enable Track mode by clicking the tracking icon. CapCut’s AI will automatically detect the face and follow it throughout the entire clip. Adjust the mask size to fully cover the face plus a small margin.
Step 6: Click Export at the top right. Select your resolution (up to 4K) and frame rate. The exported video will have no watermark.
Time required: Under 3 minutes for a standard clip.
Option B: DaVinci Resolve – Most Professional
DaVinci Resolve is a Hollywood-grade video editor with a completely free version that includes advanced face tracking capabilities. It has a steeper learning curve but delivers the most precise face blurring results.
Step 1: Download DaVinci Resolve from Blackmagic Design’s official website (blackmagicdesign.com). The free version has no time limits or watermarks.
Step 2: Open Resolve, create a new project, and import your video by dragging it into the Media Pool. Drag the clip to the timeline.
Step 3: Switch to the Color workspace at the bottom of the screen. This is where the tracking tools live.
Step 4: Click the Window icon (circle or rectangle) below the preview monitor. Draw a mask over the face you want to blur. Add feathering (soften the edges) to make the blur blend naturally.
Step 5: Click the Tracker button in the center panel. Select Cloud Tracker for AI-powered tracking. Press Track Forward. Resolve will analyze each frame and move the mask with the face.
Step 6: In the Blur panel on the right, increase the Radius slider until the face is sufficiently obscured (typically 0.40 to 0.60). You can also use the Mosaic effect under Open FX for a pixelated look.
Step 7: Return to the Deliver workspace. Choose your export format and click Add to Render Queue, then Render All.
Time required: 5-10 minutes for a standard clip due to tracking analysis time.
Option C: Flixier – No Download Needed
Flixier is a browser-based video editor that runs entirely online. It is the fastest option if you need to blur a face quickly without installing anything.
Step 1: Go to flixier.com and click “Start Editing.” No sign-up is required to test the editor.
Step 2: Click Import and upload your video from your computer, Google Drive, or a URL.
Step 3: Drag the video to the timeline. From the Shapes menu on the left, add a shape (circle or square) and position it over the face.
Step 4: In the Effects tab, apply a blur effect to the shape. Adjust blur intensity in the properties panel.
Step 5: Use the Motion Tracking feature (available in the free tier) to make the blurred shape follow the face. Flixier processes this on its cloud servers, so tracking speed depends on your internet connection.
Step 6: Click Export and download your video. Free tier supports up to 10 minutes per video at 1080p.
Time required: 3-5 minutes, depending on upload speed and clip length.
Method 2: How to Replace or Swap Faces in Video (AI Tools)
Face replacement, also called face swapping, uses AI to map one person’s face onto another’s body in a video. This technology has advanced significantly in 2026, with several free tools now producing convincing results.
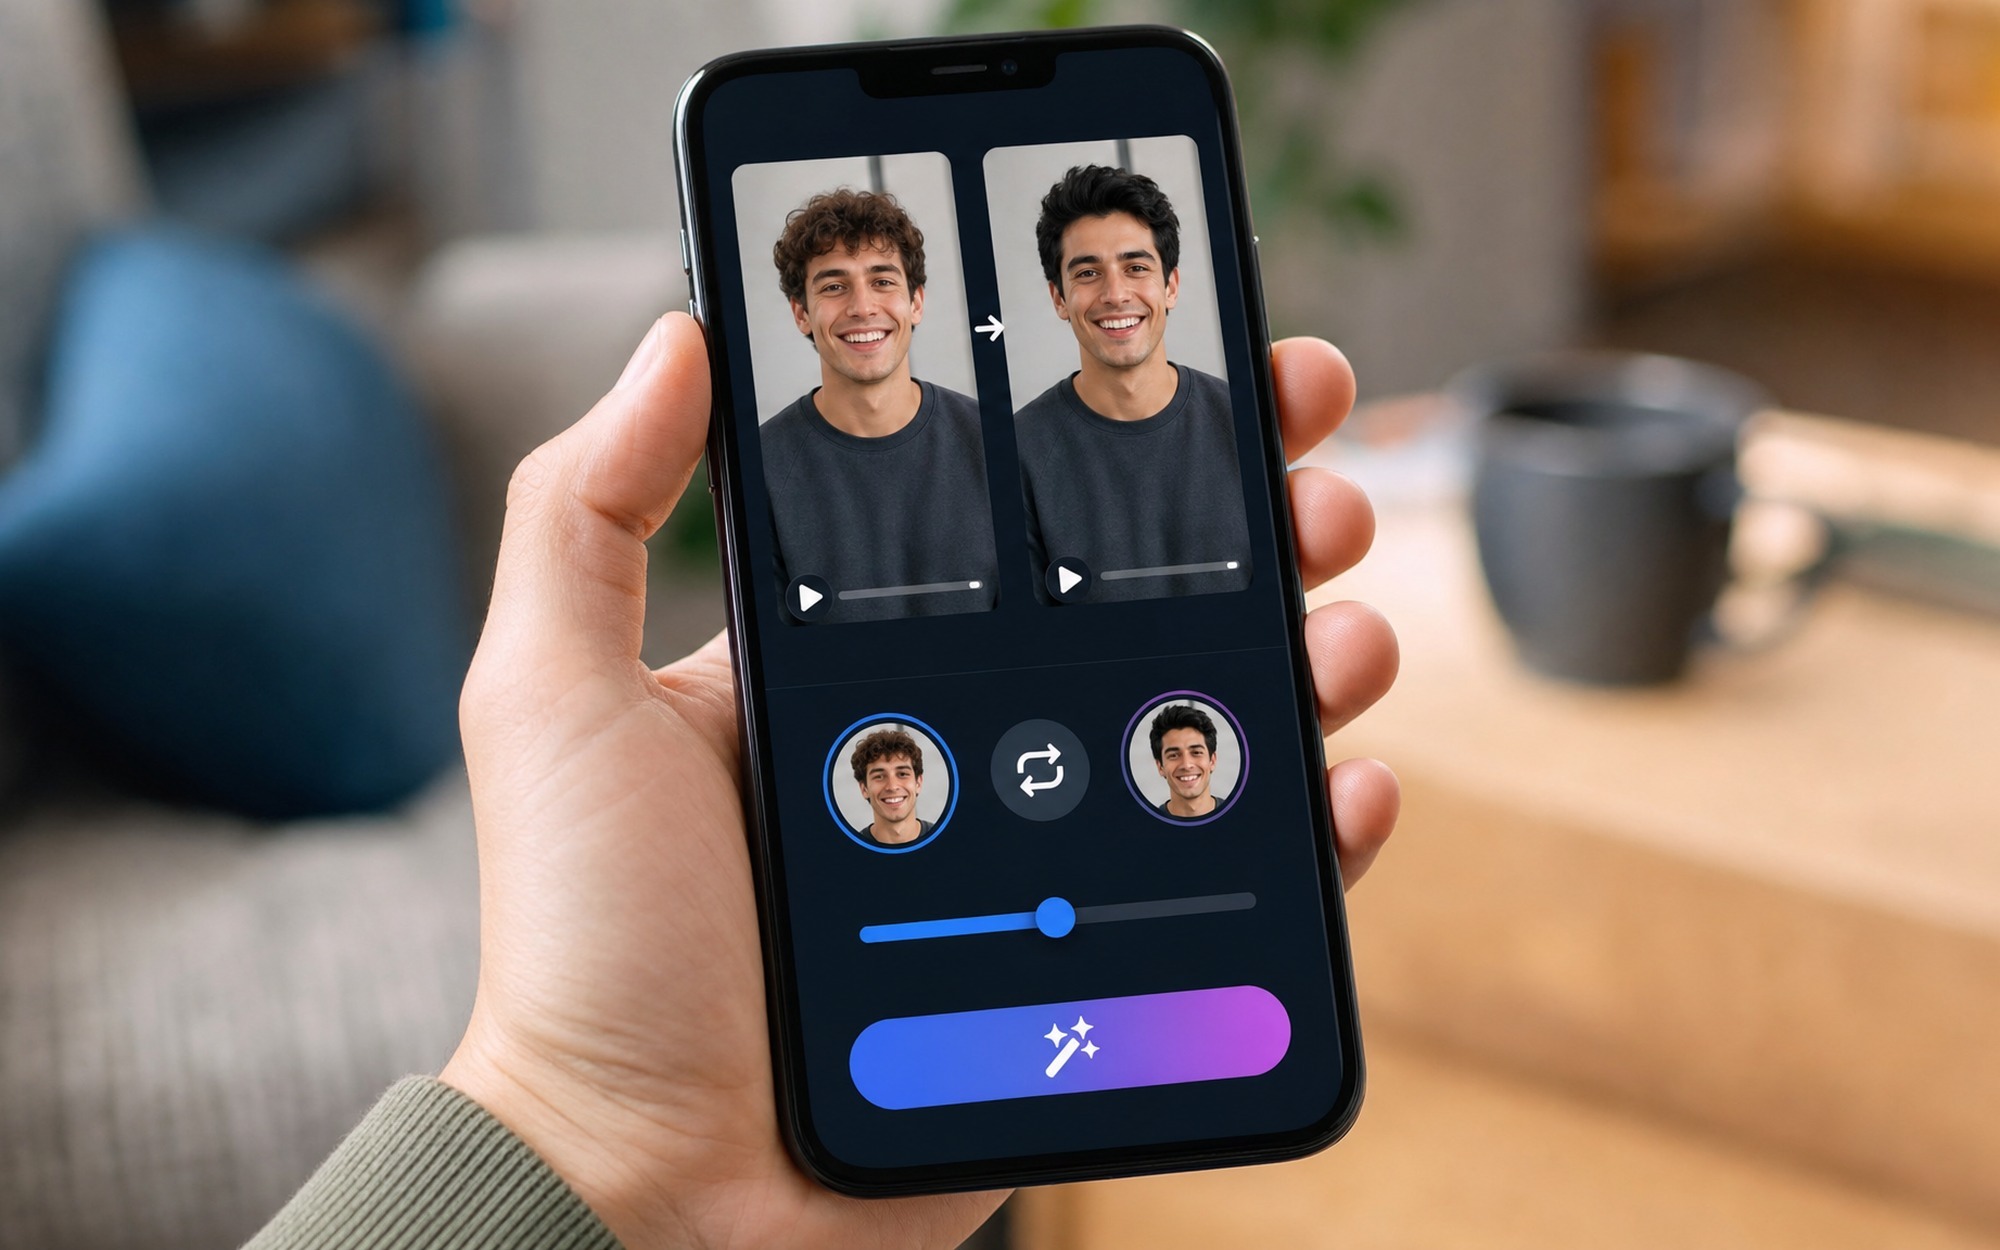
Option A: Reface (Mobile) – Fastest AI Face Swap
Reface is the most popular AI face swap app with over 200 million downloads. Its free tier lets you swap faces in short video clips in seconds.
Step 1: Download Reface from the App Store (iOS) or Google Play (Android).
Step 2: Open the app and take a clear frontal selfie when prompted. This becomes your face source for swapping.
Step 3: Browse the app’s video library or upload your own video clip. Select the video you want to swap a face into.
Step 4: Tap your face source photo. The AI processes the swap in 3 to 5 seconds. You will see your face mapped onto the person in the video.
Step 5: Tap the save icon to download the result. Free tier videos include a small Reface watermark on longer clips; short GIF-style swaps are watermark-free.
Time required: Under 1 minute per swap.
Option B: DeepSwap (Web-Based) – Best Quality
DeepSwap is a web-based AI tool specifically designed for face swapping in videos, photos, and even VR content. It supports 4K output and handles multiple faces in a single video.
Step 1: Go to deepswap.ai and create a free account. The free tier gives you 3 to 5 swaps per day.
Step 2: Click Upload Video and select your video file. DeepSwap automatically detects all faces in the clip.
Step 3: Upload a clear face photo (your target face). The AI analyzes facial features including lighting, angle, and skin tone for a natural blend.
Step 4: Click Swap. Processing takes 30 to 90 seconds depending on video length and resolution.
Step 5: Preview the result. If satisfied, download the swapped video. Free tier exports at 1080p without watermark on short clips.
Time required: 2-3 minutes per swap.
Option C: Akool (Web-Based) – Cleanest Free Result
Akool offers a free tier with basic credits that produce particularly clean face swaps, often with better skin tone matching than competitors.
Step 1: Visit akool.com and sign up for a free account. No credit card is required.
Step 2: Navigate to the Face Swap tool and upload your video.
Step 3: Upload a target face image. Akool recommends a well-lit front-facing photo for best results.
Step 4: Click Generate and wait for processing. Akool uses a refined AI model that handles different lighting conditions better than most free alternatives.
Step 5: Download your result. Free credits reset monthly.
Time required: 2-3 minutes per swap.
Method 3: Quick Face Effects and Touch-Ups
Beyond blurring and swapping, you may want to apply subtle face touch-ups. These are especially useful for talking-head videos, vlogs, and video resumes.
CapCut Beauty Effects: In the desktop or mobile app, select your clip and go to Adjust > Face. You can smooth skin, brighten eyes, slim the face, and whiten teeth with simple sliders. All adjustments are free and export without watermark.
YouCam Video (Mobile): This app specializes in real-time face beautification for video. It applies skin smoothing, face reshaping, and makeup effects that track your face as you move. The free version includes core touch-up tools with optional in-app purchases for premium filters.
InShot (Mobile): Primarily a video editor, InShot has a face tracking blur feature that is highly praised by users on Reddit. You tag a face and InShot tracks it throughout the clip, applying blur or pixelation. The free version includes a small watermark that can be removed by watching a short ad.
Comparison: Which Free Face Editing Tool Should You Use?
| Use Case | Best Free Tool | Platform | Watermark? | Learning Curve |
|---|---|---|---|---|
| Quick face blur for privacy | CapCut | Windows, Mac, iOS, Android | No | Very Easy |
| Professional face tracking blur | DaVinci Resolve | Windows, Mac, Linux | No | Advanced |
| No-install face blur | Flixier | Browser (any OS) | No (10 min limit) | Easy |
| Fast AI face swap | Reface | iOS, Android | Small (long clips) | Very Easy |
| High-quality AI face swap | DeepSwap | Browser | No (3-5/day) | Easy |
| Cleanest free face swap | Akool | Browser | No (credits reset monthly) | Easy |
| Face touch-ups for vlogs | CapCut Beauty | Windows, Mac, iOS, Android | No | Very Easy |
Why You Should Blur Faces Before Uploading Videos to Social Media
Blurring identifiable faces in your videos before posting to social media is not just courteous, it is increasingly a legal requirement in many jurisdictions. Here is what you need to know.
Privacy rights of bystanders. When you film in public spaces, people who appear in your footage have not necessarily consented to being broadcast to your social media audience. In the European Union, GDPR grants individuals the “right to object” to their image being processed and published. In the United States, several states including California and Illinois have specific biometric privacy laws that can apply to facial recognition and identification in uploaded content.
Minors require extra protection. If children appear in your video, the legal bar is significantly higher. Many platforms including YouTube and TikTok have automated systems that flag content featuring minors’ faces. Blurring children’s faces before uploading is a best practice that also protects against potential exploitation risks.
Professional reputation. Content creators who consistently protect bystander privacy build more trust with their audience and avoid potential legal disputes. News outlets, documentary filmmakers, and professional YouTubers routinely blur faces of anyone who has not signed a release form.
Practical rule of thumb: If you did not get direct verbal or written consent from every recognizable person in your video, blur their faces before uploading. The three free methods in this guide make this straightforward regardless of your technical skill level.
Final Thoughts
Editing faces in video clips no longer requires expensive software or professional editing skills. In 2026, free tools like CapCut handle face blurring with automatic AI tracking in under three minutes. DaVinci Resolve provides broadcast-quality face tracking at zero cost. And AI face swap tools like Reface and DeepSwap can replace faces in seconds with surprisingly natural results.
The method you choose depends on your goal. For privacy protection and general-purpose face blurring, CapCut is the clear winner for its combination of ease of use, cross-platform availability, and watermark-free exports. For creative face swapping, DeepSwap produces the highest quality results on its free tier. And if you need the most precise tracking control possible, DaVinci Resolve is unmatched.
All the tools covered in this guide are genuinely free, no credit card required, and produce results you can use in personal and professional projects.
- CapCut offers completely free AI face tracking blur on both desktop and mobile with no watermark
- DaVinci Resolve provides Hollywood-grade face tracking and blurring, entirely free with no limitations
- Reface and DeepSwap deliver instant AI face swapping results without technical skills
- Flixier runs entirely in a browser, no software installation needed for quick face blurring
- All tools covered in this guide work without requiring credit card or paid subscription
- AI face swap tools like DeepSwap have daily limits on free tier (typically 3-5 swaps)
- DaVinci Resolve has a steeper learning curve compared to simpler apps like CapCut
- Online tools like Flixier require stable internet and may compress uploaded videos
- Free mobile apps often include ads or watermarks unless you use CapCut or InShot
- Advanced face tracking accuracy varies by tool; DaVinci Resolve offers the most precision
Frequently Asked Questions
What is the best free tool to blur faces in a video?
CapCut is the best free tool for blurring faces in videos in 2026. Its AI-powered face tracking automatically detects and follows faces throughout the clip, applying a smooth mosaic or blur effect. It works on Windows, Mac, iOS, and Android, with no watermark on exports. For professional-grade control, DaVinci Resolve (free version) offers the Power Window tracker that lets you manually draw masks and track them frame by frame with superior precision.
How do I blur a moving face in a video for free?
To blur a moving face in a video for free: (1) Open your video in CapCut, (2) go to Effects > Video Effects > Blur, (3) apply a mosaic or gaussian blur effect, (4) use the Mask feature set to ‘Track’ mode to automatically follow the face’s movement, (5) adjust the mask size and shape to cover the face area. The tracking algorithm handles the face’s movement across frames. Alternatively, in DaVinci Resolve, use the Power Window with the tracker to manually draw a blur mask that follows any moving object.
Can I swap faces in a video for free without watermark?
Yes, you can swap faces in videos for free without watermarks using Reface (mobile app, free tier includes limited daily swaps with no watermark on short clips) or DeepSwap (web-based, free tier offers 3-5 swaps per day at 1080p without watermark). For fully open-source and unlimited free options, you can use InsightFace integration via ComfyUI or Stable Diffusion workflows, though these require more technical setup.
Why should I blur faces before uploading videos to social media?
You should blur faces before uploading videos to social media for these key reasons: (1) Privacy protection, strangers or bystanders captured in your footage may not consent to appearing in publicly shared videos, (2) Legal compliance in regions with strict privacy laws like GDPR in Europe where sharing identifiable faces without consent can lead to penalties, (3) Protecting minors as children appearing in videos are particularly sensitive from a legal and ethical standpoint, (4) Avoiding doxxing or harassment risks when sharing content from public spaces, (5) Professional courtesy when posting event footage or street interviews where not everyone signed release forms.
Is there a completely free online face editor for videos?
Yes, Flixier offers a completely free online video face editor that runs in your browser. You can upload a video, apply blur masks with motion tracking, and export without installing software. The free tier allows exports up to 10 minutes per video. CapCut’s web version also provides free face editing features online. For AI face swapping online, DeepSwap and Akool both offer free credits (typically 3-5 free swaps) that don’t require payment information.